
The color on the card is rarely the color you get
Stain cards and showroom boards are printed or finished on wood that has nothing to do with your house. The species, the sanding and the light are all different. People pick a swatch they love, it goes down on their floor, and the room ends up warmer, redder or darker than they pictured.
The fix is simple and it costs a little patience. Once the floor is sanded, we brush real samples onto your own oak, in your own rooms, and you choose from those. Nothing else predicts the result.
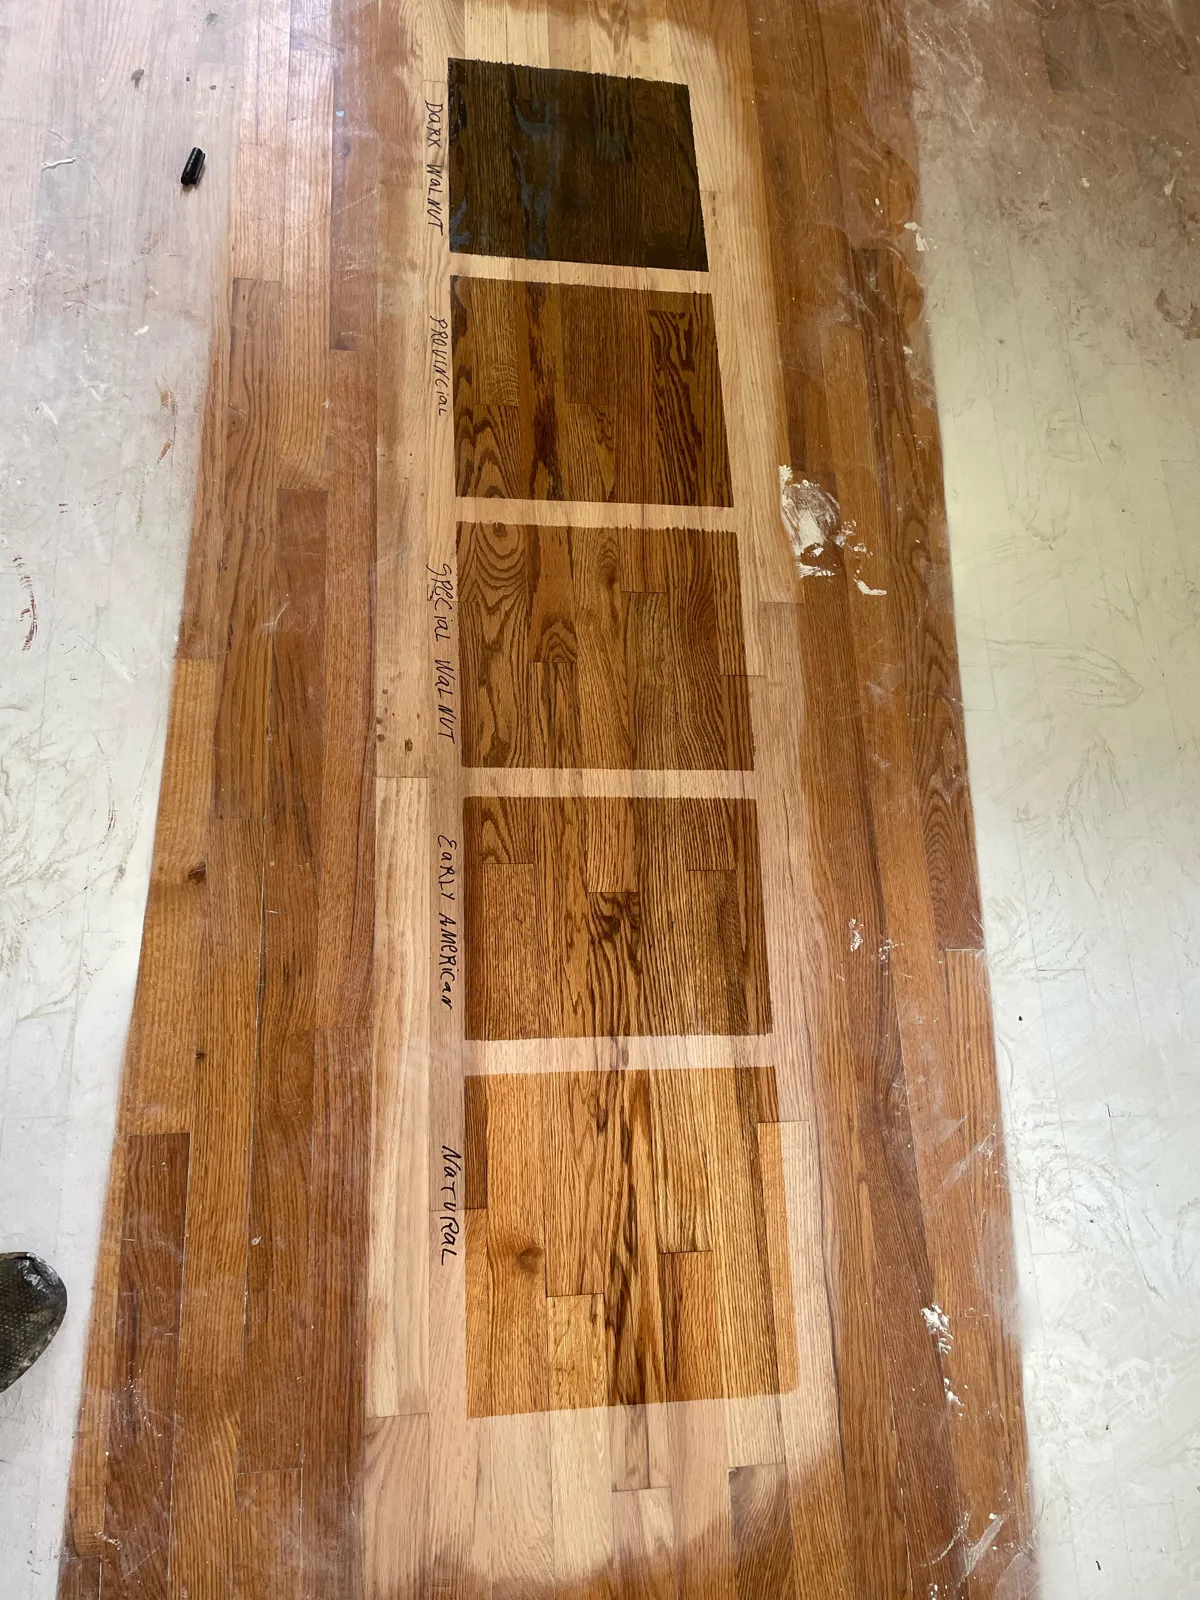
How the test squares get done
Samples only mean something on wood that has been through the final grit, because the sanding itself changes how much color the oak will hold. So the squares go on after the floor is fully prepared, a few of them side by side, each one labeled by hand with the product name so nobody has to remember which was which.
We usually put them where you will actually judge the floor: near a window, in the middle of a main room, sometimes in a darker hallway as well. Then they need time to dry, since wet stain reads darker and richer than it will once it settles.
Look at them in the morning and again after dark under your own lamps. A color that glows at noon can go flat at night. If two samples are close, ask for them a second time in another room. You are choosing something you will live on for years, and an extra hour of looking is cheap insurance. The Prairie Village staining page covers how that choice fits into the rest of the job.
Telling red oak from white oak once it is sanded
Postwar oak floors here are usually red oak or white oak, and once the old finish is gone the two look a lot alike. It pays to know which one you have before any color goes down, and there are a few ways to tell.
Start with a cut end, at a register opening or a threshold. Red oak’s pores are open, and on a clean end you can often see them as tiny holes. White oak’s pores are plugged, so the end looks solid. On the face of the board, white oak usually shows longer ray streaks running across the grain and sits cooler and browner in tone, while sanded red oak carries a faint pink cast that is easiest to see in daylight against a white wall.
Plenty of houses have both, usually where an addition, a patch or a closet got whatever oak was on hand at the time. Then the test squares go on each species, because one can of stain will not land the same way on both.
Water popping for deeper, more even color
Sanding leaves the grain lying fairly flat, and flat grain accepts stain unevenly, especially in darker colors. Water popping is the step that addresses it. After the final sand, the floor is wiped with a light, even coat of water. The fibers swell and stand up, opening the grain so it takes stain more deeply and more uniformly.
The result is a richer color with less blotching, which matters most on deep browns and on red oak, where uneven absorption is easiest to spot. Popped samples also read darker than unpopped ones from the same can, so if we plan to pop the floor, we pop the sample squares too.
There is one catch. Water popping exaggerates any sanding mark left behind, so it only works on a floor sanded carefully through every grit. Raised grain also needs complete drying before stain goes on. Rushing that step leaves the color patchy, and patchy color cannot be fixed without sanding again. If sanding depth is your bigger worry, our sanding notes for the same houses cover that side.
Dark floors in rooms with smaller windows
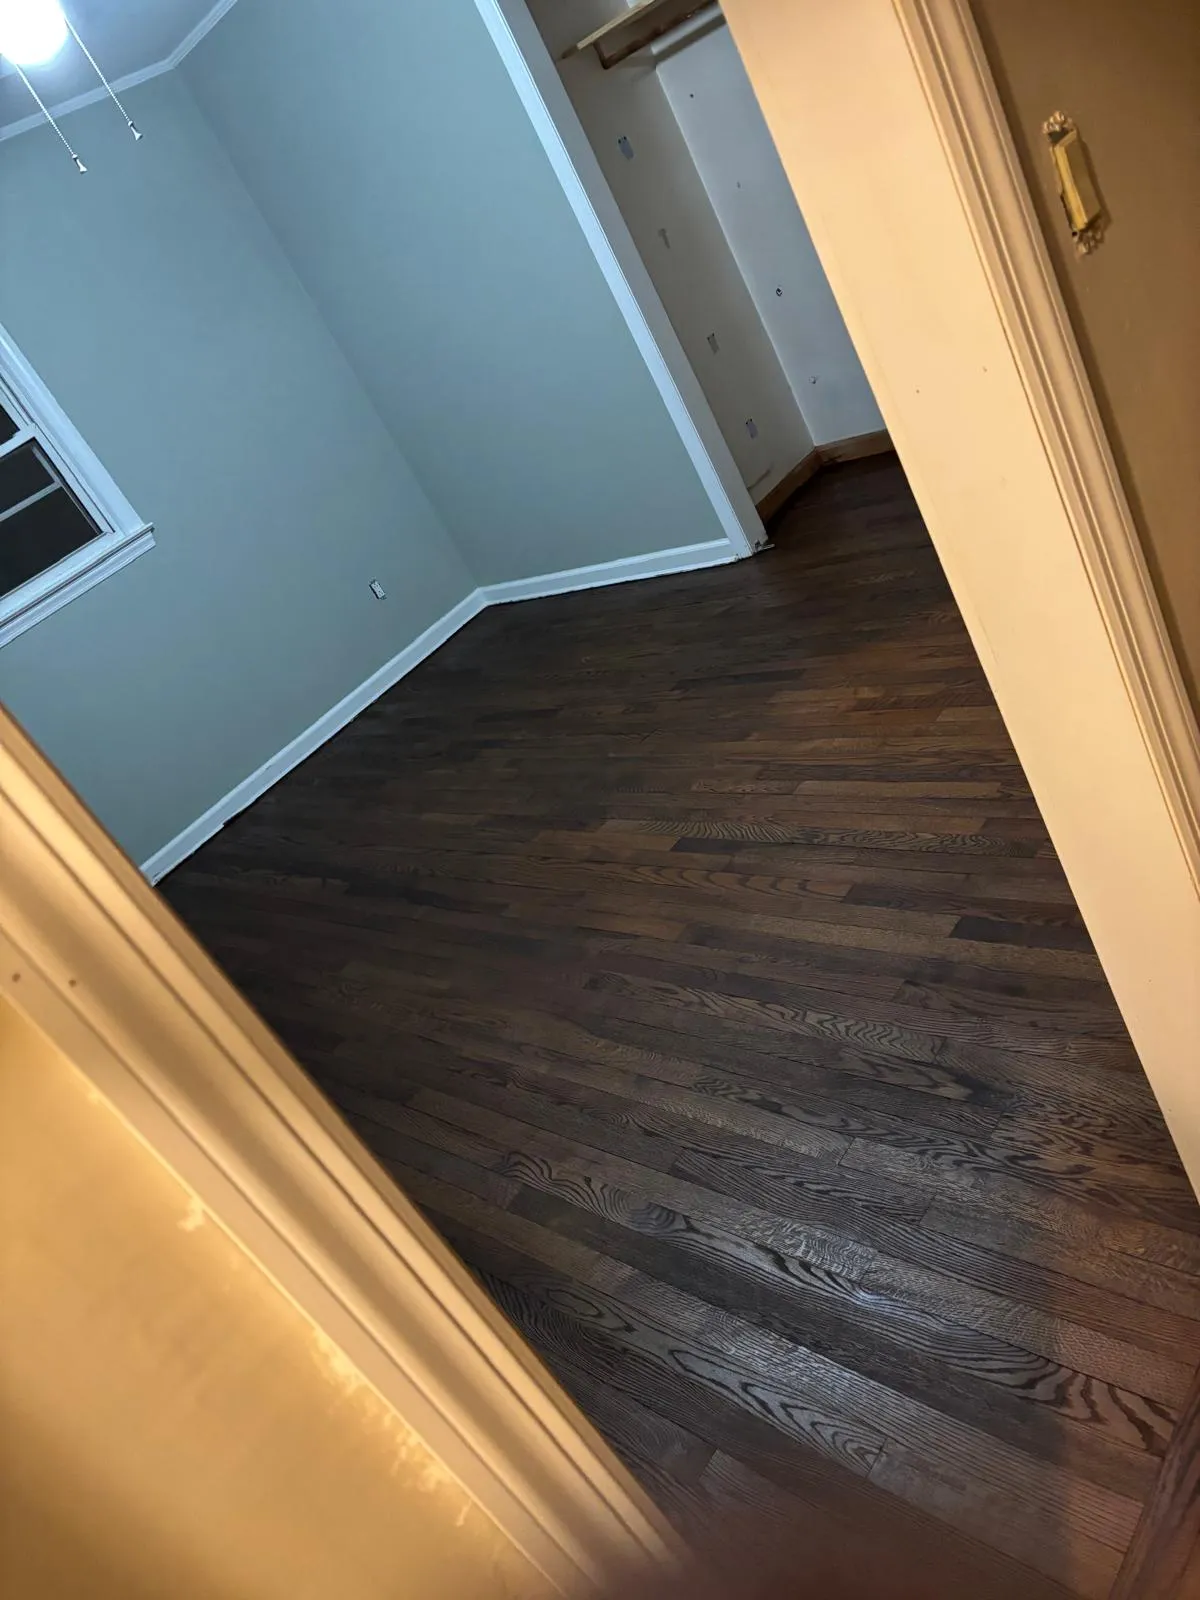
Dark stains photograph beautifully and show everything. Dust settles on them in a visible layer, pet hair stands out, and every fine scratch through the finish catches the light as a pale line. A household with a big dog, kids and an open back door will see all of it daily. A middle brown hides a great deal more.
Light makes a difference too. Many of the Cape Cods and colonials here have smaller windows and more separate rooms than a newer open plan, and a deep color in a room like that can drink up what daylight there is. The same stain that feels rich in a bright great room can make a modest bedroom feel closed in.
That does not rule dark floors out. It means testing them where they will live and looking at them at the time of day you use that room most.
Patched boards, old repairs and the case for natural
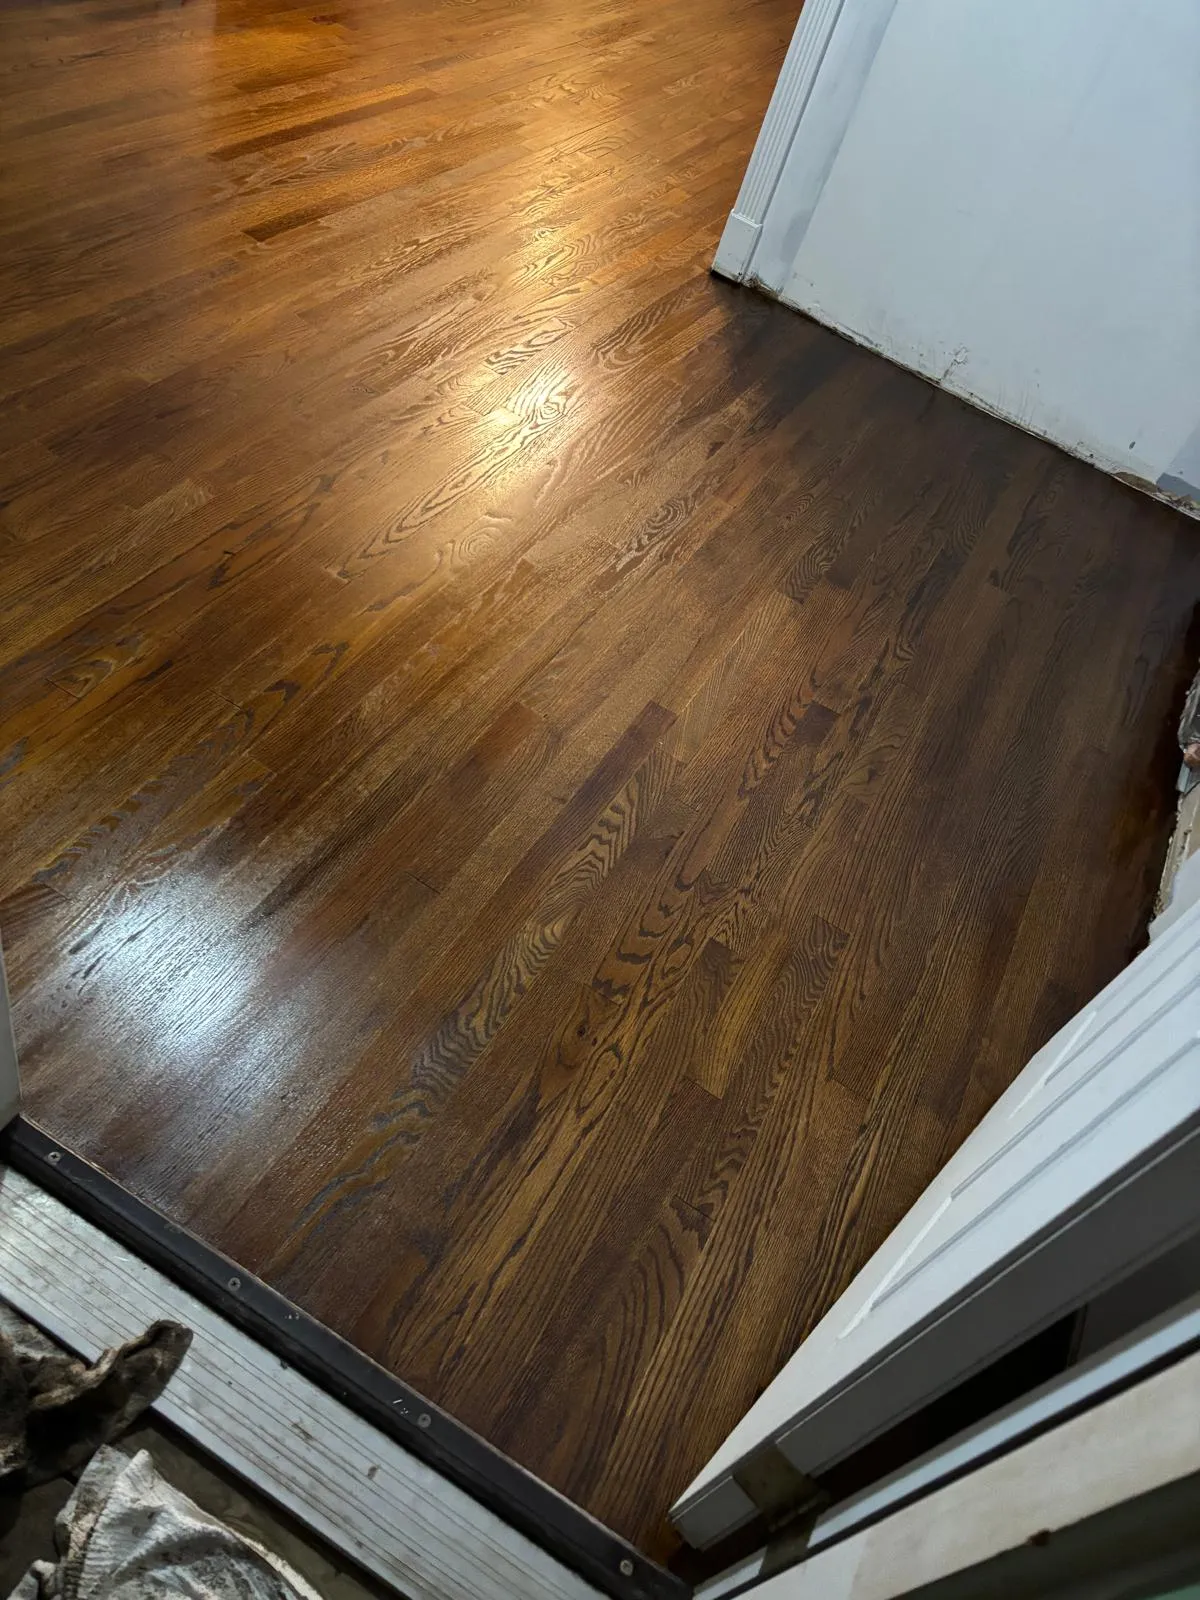
Older floors in this town often carry scars from plumbing leaks or a wall that was moved, and somewhere along the way those spots got patched. New oak and old oak take stain differently, since years of light and air change the surface of the old boards. A repair that looked fine under the previous color can stand out once everything is sanded and restained.
So the samples go on the patch as well as the field. If the patched boards pull lighter or redder, the plan adjusts before the whole floor is committed.
Then there is natural, meaning no stain at all, just finish over sanded oak. It is a real choice and an underrated one. Natural shows the grain as it is, ages gracefully, forgives dust and makes touch-ups simple down the road. Plenty of people sample five colors and pick the clear square.
Questions people ask about choosing a stain
Can you match the color my floor had before?
Often we can get close, but the old color was partly stain and partly decades of aging in the finish. Once that comes off, the oak underneath is lighter than you remember. We sample toward the old look on your floor and show you the nearest options, rather than promising an exact copy.
How many sample colors should we test?
Three to five is usually plenty. Fewer leaves you guessing, and more than six tends to blur together so the choice gets harder rather than easier. Bring a photo of a floor you like and we will pick samples that bracket it, including one lighter and one darker than your first instinct.
Will a dark stain hide the gaps in an old floor?
It can make small seasonal gaps less obvious, since a dark gap against a dark board blends in. It will not hide wide gaps, raised edges or patched boards that took color differently. Gaps get dealt with during the refinish first, and the color decision comes after that, on the prepared floor.
Choose the color with the floor in front of you
The surest path to a floor you like is to stop choosing from a card. Sand first, sample on your own oak, look at it in your own light, and then decide. It adds a day of looking, and you end up with a color you chose on your own floor.
Put the samples on your floor before you pick
Thiago can walk your rooms, tell you whether you are looking at red or white oak, and give you a straight price in writing for sanding, sampling and finishing. More on the work we do around town lives on our Prairie Village page.